Docker: Setup Simple Application with MongoDB for Data Storage

In today’s Docker project, we’ll follow along with Nana Janashia as she walks us through how to create a simple user profile app set up using MongoDB for the Database:
Prerequisites
For this tutorial, you will need:
- Docker installed on your IDE (I will be using VSCode)
- GitLab account
- Follow along with Nana: TechWorld with Nana
Objective
This project will create a simple user profile app set up using:
- index.html with pure js and css styles
- node.js backend with express module
- MongoDB for data storage
*All components are docker-based.
Let’s get started!!
1| Clone GitHub Repository
First, you will want to Clone Nina’s GitLab repository into your local IDE.
2| Pull Image from Registry
From our scenario, we are using MongoDB for our database, so we will pull the latest version of MongoDB from the Docker registry. Head over to https://hub.docker.com and find the both.
We will use MongoDB for container and also deploy Mongo-express which is a web-based admin interface for MongoDB. With Mongo-express we will be able to manage and see the database insights & updates from our application much easier.

In your local IDE pull both images with the following commands:
$ docker pull mongo$ docker pull mongo-express
3| Connect MongoDB & Mongo-express
Next, we will want to connect Mongo-express with the Mongo DB container.
Docker Network: One of the reasons Docker containers and services are so powerful is that you can connect them together, or connect them to non-Docker workloads.
Docker will create its isolated Docker network where the containers are running in. So when we deploy the two Mongo containers in the same Docker network, they’ll be able to talk to each other using the container name (without localhost or port number) because they’re in the same network.
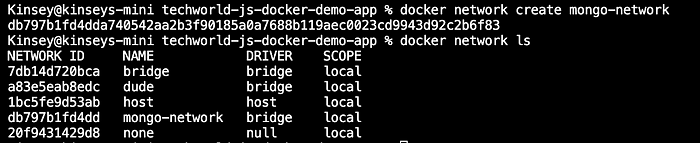
By default, Docker provides networks and you can see that by running $ docker network ls :

What we will do next is create a network for MongoDB and Mongo express — called mongo-network.
4| Run Mongo Containers
From here, we will want to run both MongoDB and Mongo-express containers to make the MongoDB database available for our application.
Run MongoDB:
As we go to run the MongoDB container, we will want to setup environment variables on the docker run command line.
MONGO_INITDB_ROOT_USERNAME, MONGO_INITDB_ROOT_PASSWORD
^ these variables, used in conjunction, create a new user and set that user’s password.
$ docker run -p 27017:27017 -d -e MONGO_INITDB_ROOT_USERNAME=admin -e MONGO_INITDB_ROOT_PASSWORD=password --name mongodb --net mongo-network mongoRun Mongo-express:
As we go to run the Mongo-express container, we will want to setup environment variables on the docker run command line.
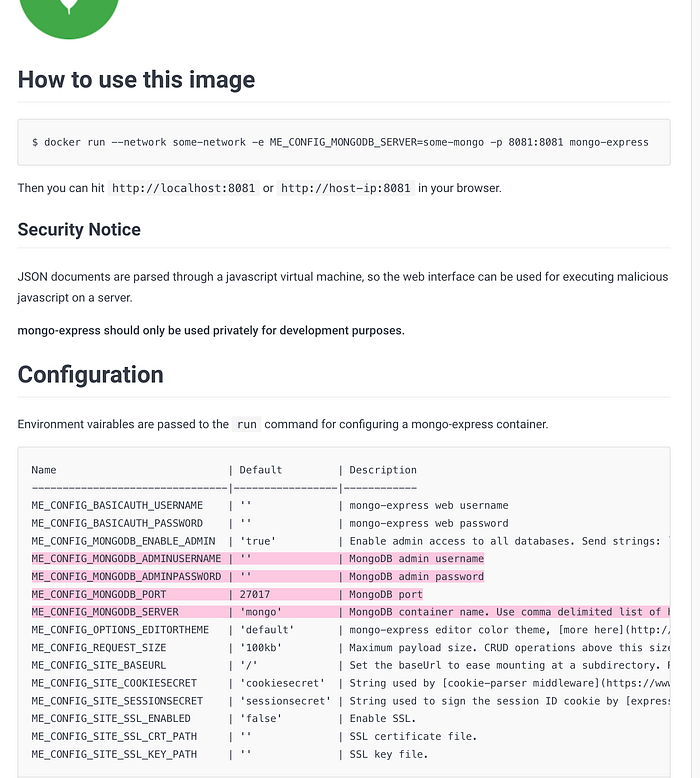
$ docker run -d -p 8081:8081 -e ME_CONFIG_MONGODB_ADMINUSERNAME=admin -e ME_CONFIG_MONGODB_ADMINPASSWORD=password --net mongo-network --name mongo-express -e ME_CONFIG_MONGODB_SERVER=mongodb mongo-expressNow, we will confirm that our container has Internet access by using the following command:
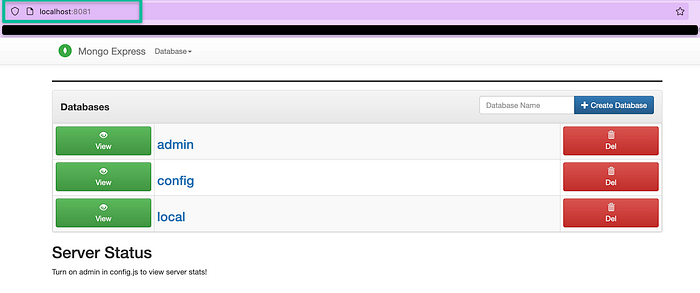
curl localhost:8081To see your website, type http://localhost:8081 in your browser and you’ll see everything worked:
5| Create Database & Add Changes
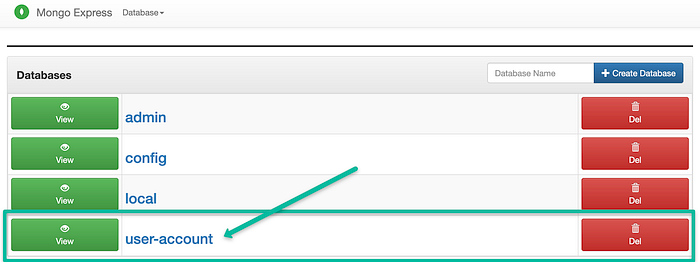
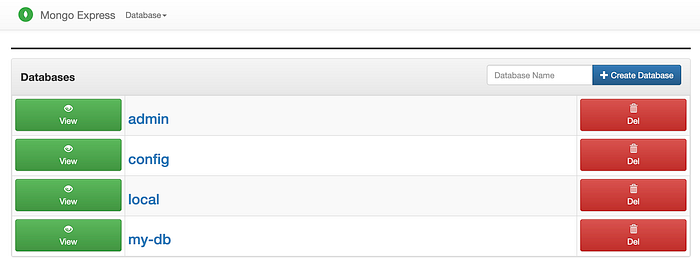
After you’ve opened up http://localhost:8081 in your browser, you will create a database by creating database name and clicking on Create Database, like so:

and you’ll see it added the new database called “user-account.”
Next, we will have to connect Node.js with the database. To start your nodejs application locally — go to app directory of project:
$ cd appRun the following:
$ npm install express
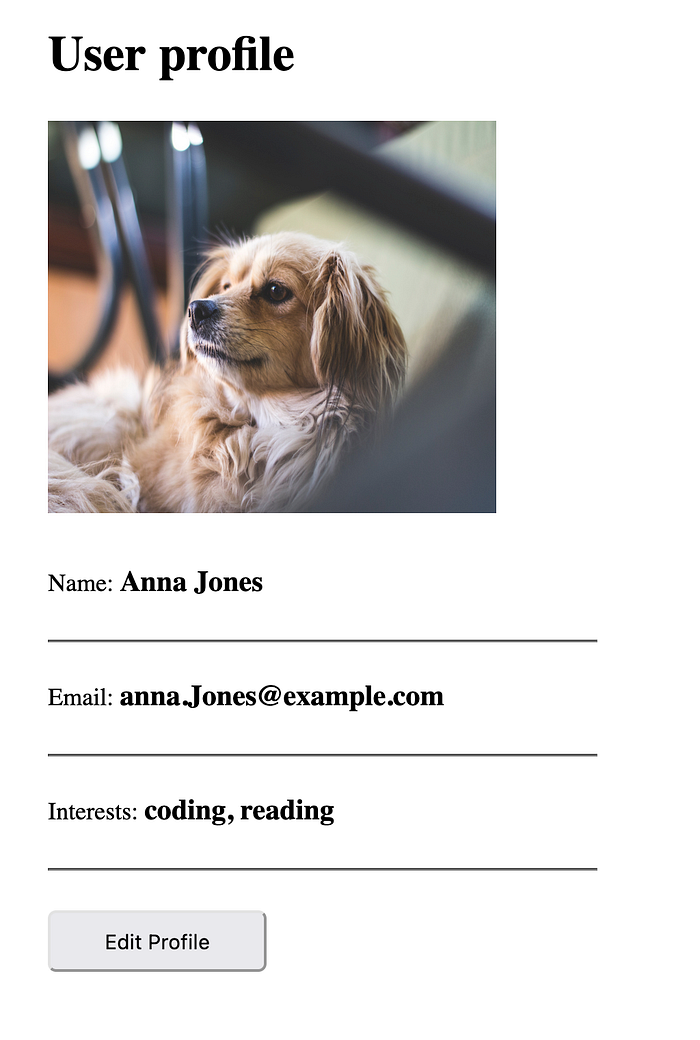
$ node server.jsAccess you node.js application UI from browser
http://localhost:3000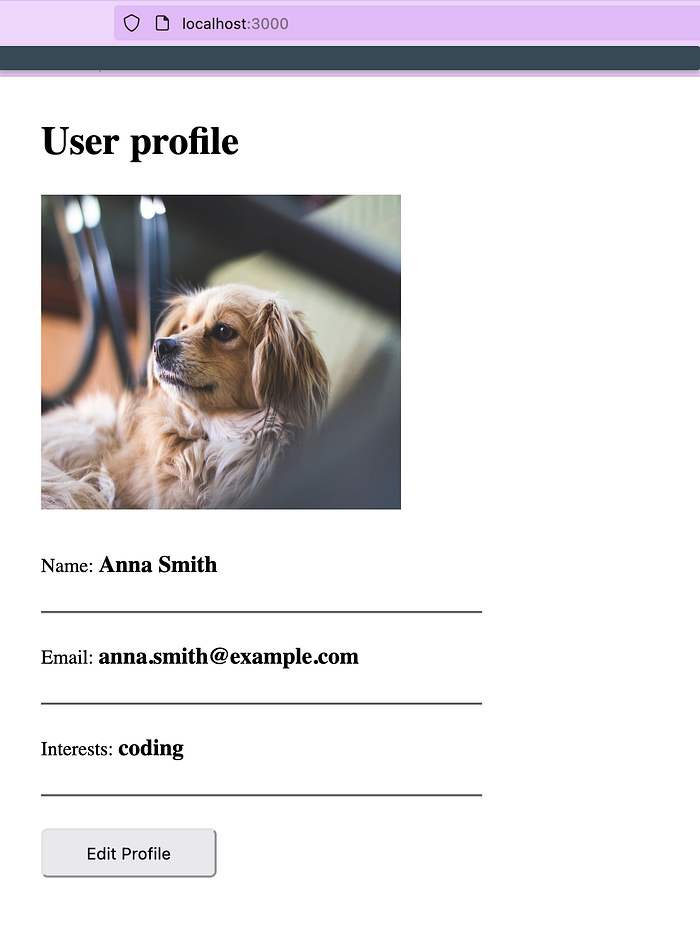
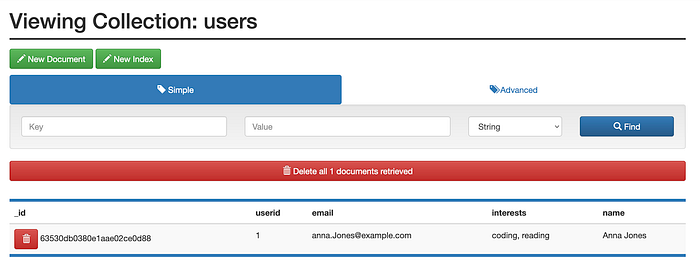
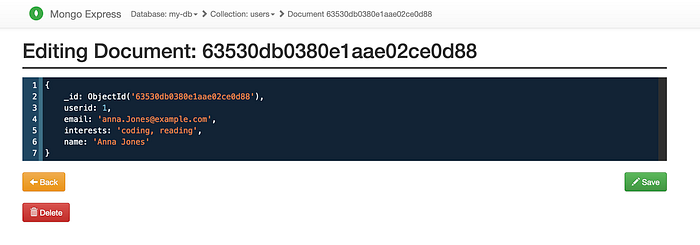
Let’s edit the data in the users profile and Click Edit Profile. Refresh your users account database and you will see that a new insert was made:
You can also check what the Mongo container logs during this process, you can check the logs with command:
$ docker ps <CONTAINTER ID>6| Docker Compose: Start Mongodb and Mongo-express
In your files, you should see a Dockercompose.yaml file that was provided to us. Open that file and we will rename it mongo.yaml.
To start Mongodb and Mongo-express, run the following command:
docker-compose -f mongo.yaml upFrom here, we will see that both Docker containers are running:

To see your Mongo website, type http://localhost:8080 in your browser and you’ll see everything worked:
Mongo-express:
7| Stop Docker Containers
To stop specific Docker Containers, you will use the following command:
$ docker-compose -f mongo.yaml down
This will go through all of the containers and shut them down. In addition to removing the containers, it also removes the network.
Great job!! You just creates a simple user profile application set up using MongoDB for data storage